

Good-day everyone,
today I’m going to show you my workflow for sharpening photos with Lightroom and Photoshop. Getting a photo as sharp as possible depends on two factors.
Factor one is the way you set your camera focus. That’s a topic I might touch somewhen in the near future if you guys are interested.
So, assuming you shot a sharp focused photo, let’s jump right into Lightroom and Photoshop.
The workaround I found for my photography starts with Lightroom, where I do the main editing as the whole colour-grading and light setting. On your screens right side in Lightroom (in Dev-Mode) you’ll find a section called “Detail”. That’s the one we’re looking for:
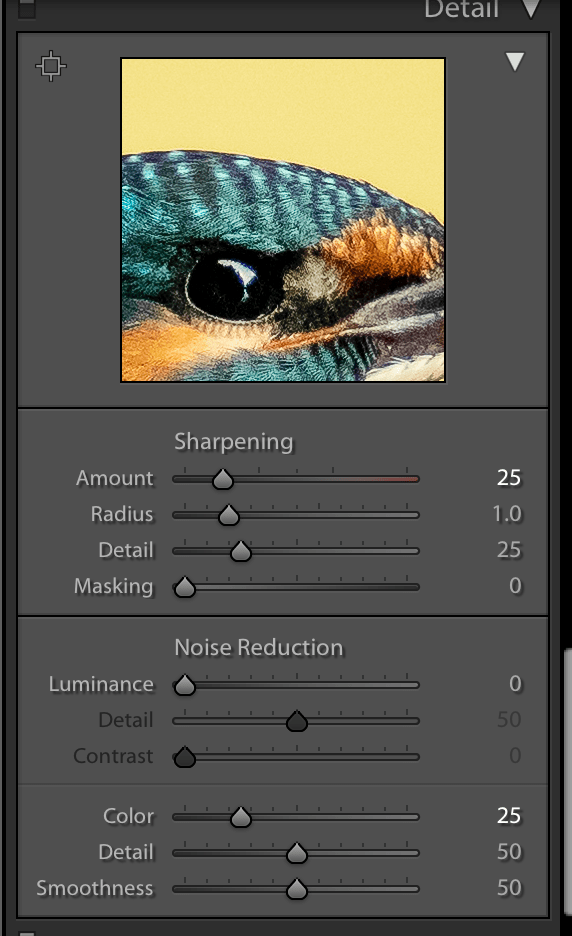
The LR default setting are as shown, with the “Amount” sitting at 25. My go to setting here for pretty much any photo is:
Amount: 75
Radius: 1.2
Detail: 32
Masking: 14
That should give you a fair improvement in your image style. Using the “Detail” section in Lightroom is a big step towards sharper images. But, there’s more:
Try this out: After applying some sharpening through Lightroom, open your image in Photoshop (right-click – Edit In – Adobe Photoshop). The next step’s are going to sound weird, but they will do some magic:
Duplicate your Background Layer

Then, select the new layer and apply the “High Pass” filter to it. The High Pass filter is hiding in your Filters – Others – High Pass. I usually go with a value of 3.5 Pixels:

You’re image is going to look weird as now. Let’s change that. Change your layer setting from “Normal” to “Overlay”, with a opacity of 75%. Can you see the difference?
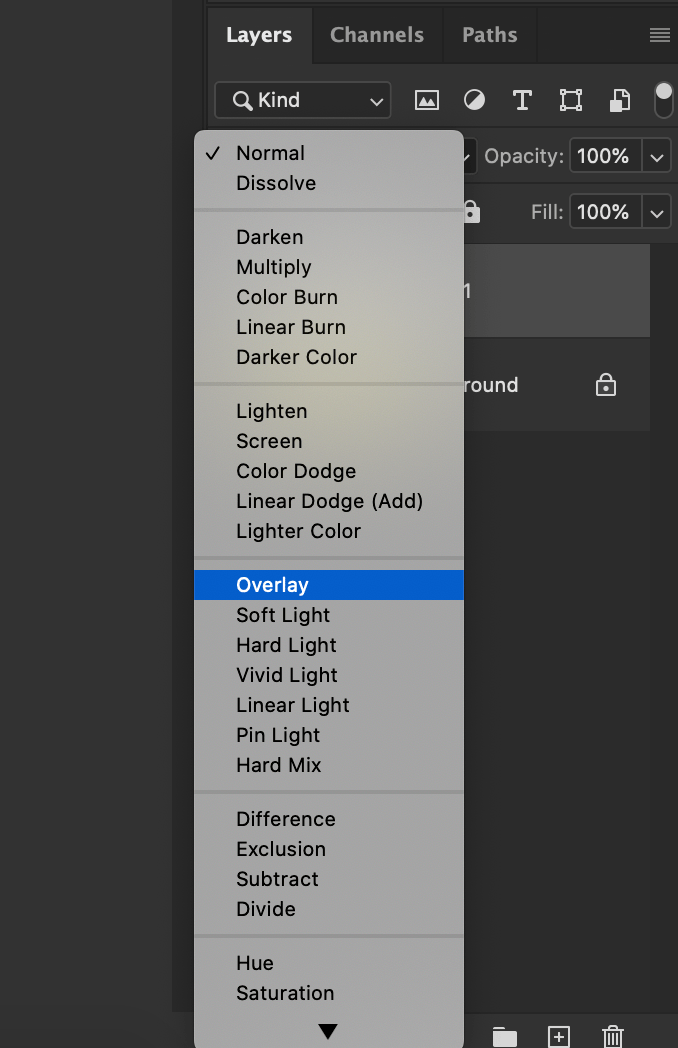
Your image should have a really fine and detailed look now.
That’s it for a general photo sharpening workflow. I usually export my images at 2500px max for Instagram for example, that way I’m able to keep the fine details.
An additional way to increase your sharpness on Instagram posts is the “Sharpen” tool. I use that a lot when preparing a photo for Instagram. You can find the “Sharpen” tool when you’re uploading a photo through the Instagram app. The tool hides in the editing mode, at the far right side. My go to range there is anything between 25 and 50 usually.

Combine all these steps together (Lightroom first – then Photoshop – then Instagram) and you’re going to see a big difference between your images. Having sharp photos will definitely help you stand out as a content creator.
That’s it for today, thanks for reading! Let me know your thoughts about getting sharp images in the comments 🙂
Rock on,
Ingmar